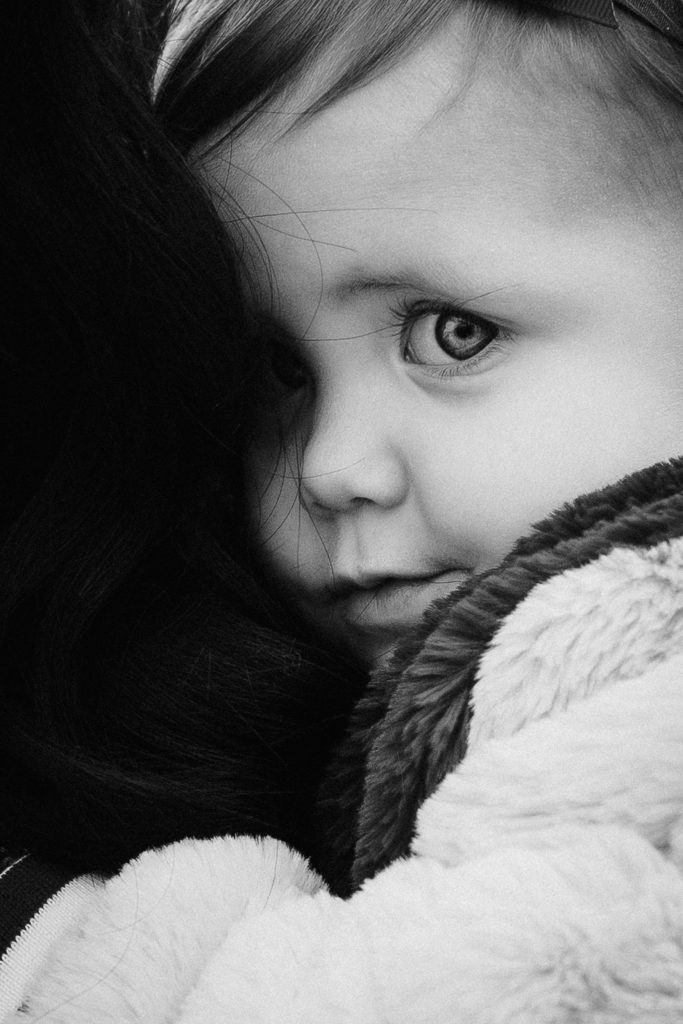
Children portraits photography is a very general subject; the term “child” covers a period of up to 20 years at least.
The new-born phase is very different to that of the toddler. And similar changes occur right through until their late adolescent years.
Each phase is endearing, very special and fascinating and each child is unique.
Be prepared to take lots of photos of every phase of your child’s life as we can never rewind the clock back.
The first phase is the newborn …
Contents
Newborn Photography Tips For Beginners
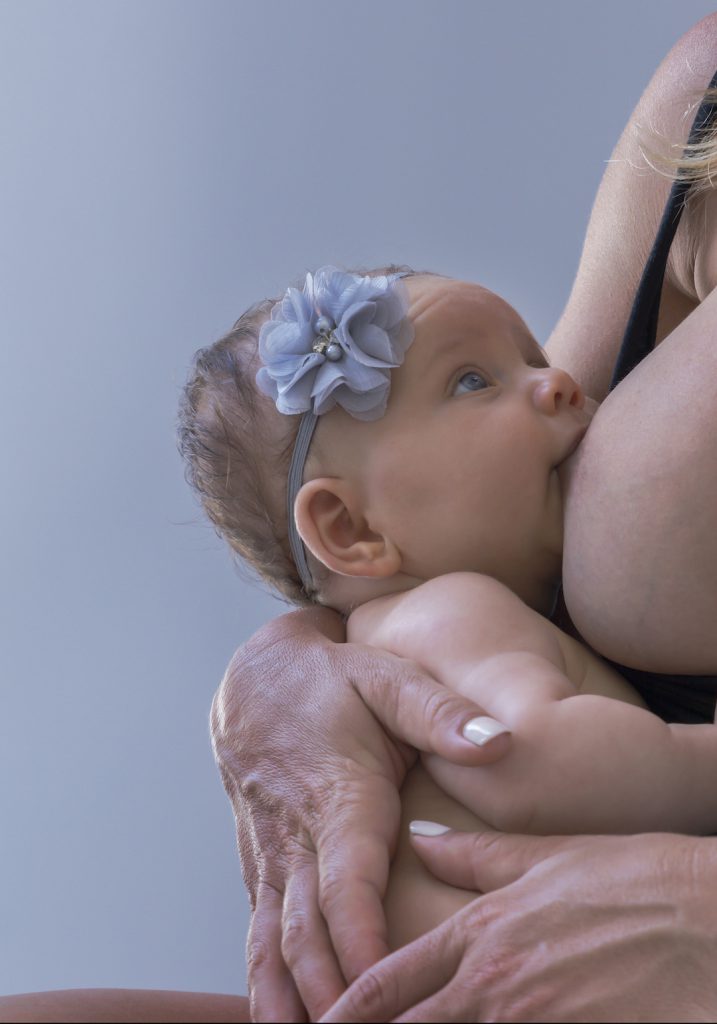
This is such an exciting time for the entire family – whether it is your first born, second or subsequent baby.
Life is exciting, it’s hectic, exhausting and goes by in a blur.
If you intend taking photos of your newborn baby you need to prepare well in advance as the window of opportunity is not as wide as we might imagine. Not only that but there is a lot to learn and the best time to do that is before the arrival of the newborn.
Tip #1 – don’t leave it until they arrive- there just won’t be time!
They grow real quick and these newborn days will soon be behind you.
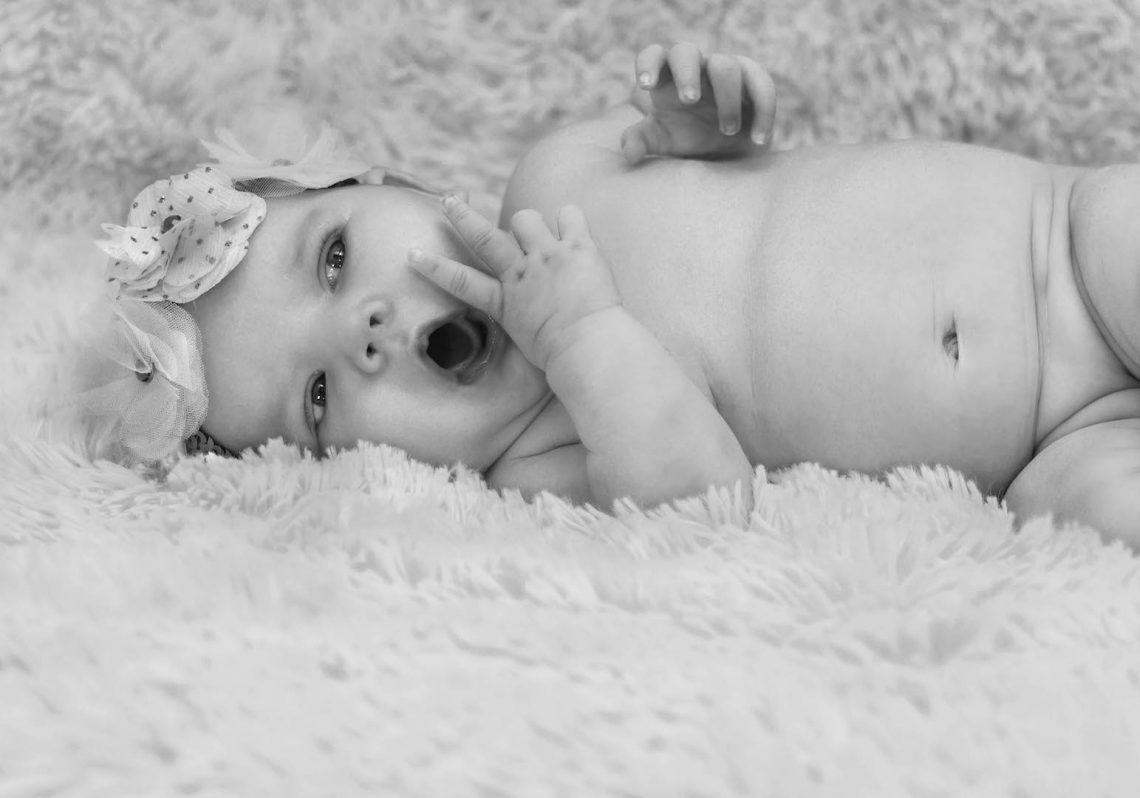
As a general rule newborn photos should be taken in the first two weeks of a child’s life but can, depending on the baby, be taken as old as 4 weeks.
If you’re having them professionally done your photographer will make suggestions of somewhere between 4 and 14 days because during this time the newborn will sleep a lot – especially after feeds and can easily be posed in the cutest of positions.
In no time at all they are less prone to stay in one position and your photographic life becomes a lot harder.
The birth of a newborn is a very exciting time in any family's life. Enjoy every minute of it and be sure to take lots of photos to reflect back on later!
Prepare For Your Newborn Photography Session Well In Advance
Fortunately we have ample warning of an impending birth but what takes all of us by surprise is how quickly that time passes. Probably because there is so much to do and prepare.
Let’s talk about the photographs you are going to take of your newborn.
Tips:
Do …
Practice – with your camera for the big arrival and the weeks following. Get to know your camera and how it performs in different lighting conditions.
Practice – your baby wrapping techniques. You can learn so much by watching youtube videos. The secret with newborns and infants is to truss them up tightly so that they feel warm and secure.
Practice – your posing. Again Youtube is a great place to see how this is done and places like Pintrest are brilliant for getting ideas.
Be Flexible. What you practice may (and probably will) change when baby is born because they want to do something different.
We get ample warning but inevitably the time flies - use it wisely so that you are well prepared for your newborn photo session. Photo by Kelly Sikkema on Unsplash
The StandInBaby is ideal for practising both your wrapping and your posing techniques.
Learning to Wrap and Pose Your Newborn
NewBorn photography is a specialised field and there are professional photographers who do nothing but NewBorns as a full time occupation.
You are not going to get similar photos without putting in a great deal of effort and practice so make the most of the time available to you so that you are well prepared by the time Junior arrives.
What you will need
Certain props are essential and I would suggest you watch a few videos to see how the professionals do it and what props they use.
Practice every single day that you can – you cannot practice too much.
The first thing you will need is a doll that can substitute for the new baby. There are dolls and there are dolls but the one that has been specifically designed and manufactured to replicate a newborn’s size, weight and flexibility is the StandInBaby. No other doll will replicate the newborn’s flexibility and size like this one. This is your best bet for taking those newborn photos that you are only going to get one chance at mastering.
A decent sized bean bag. Always be very aware of baby’s safety, They flip easily and the most secure base is one that you can indent them into such as a bean bag.
A couple of baby wraps. Buy ones that go with the colour coordination you are considering for your photos. Neutral colours are great if you don’t know what you are having and you can of course pop out immediately after the baby is born and buy your preferred colours. But in the meanwhile get some to practice your wrapping.
A few posing props such as buckets, salad bowls, baskets, wooden and metal rates etc.
Spend time on Pintrest and professional photographers sites to get ideas.
Brush up on your post processing skills as you will need to remove creases that appear in your background materials.
Find an area where the session will take place. This can be any room but I would suggest you consider using natural lighting from diffused windows. Test everything over and over again at all times of day as you never know when the baby will be compliant.
If you decide to use studio lights practice with them on your newly wrapped doll in the poses you have learnt.
Practice patience. Your newborn will not be as compliant as your doll and will determine the time and duration of the session. Most newborn photo sessions are stop/start affairs as baby needs to be fed, changed, cleaned, lulled to sleep etc. Anticipate a 3 – 4 hour session and consider yourself lucky if you get away with that.
Have a reliable assistant – mum is the best person for this but if mum is taking the photos then dad or a best friend. There is nothing more frustrating than setting up the perfect pose only to have baby move a hand or foot as you get your camera. It is the assistant’s job to hold the baby’s pose and then move away just before you take the photo.
Assistants are also there to provide safety and a calming influence on the baby.
Camera Settings and Lenses for New Born Photography
For Newborn photography I recommend the following camera settings:
Aperture priority. Set you aperture based on the depth of field you would like. How much of the photo do you want in focus and how much do you want out-of-focus? It’s all about personal taste. If undecided take two or three photos with different apertures – you can decide later which photo you prefer.
Keep your shutter speed up around the 1/125th sec or higher to avoid camera shake. It’s not always the subject that moves.
Set ISO to Auto and let the camera worry about it. If ISO gets too high reduce the shutter speed. Be aware that there may be some shake and if possible use a tripod or a monopod.
For White Balance set a Pre-select (see camera manual to learn how) or set to “auto”.
To Flash or Not to Flash?
This is an entirely personal and situational decision. If you can avoid it and have lovely soft natural light then please do. Sometimes it is unavoidable so be sure to use a lovely soft diffused light on baby’s beautiful complexion. The easiest and most efficient way to do this without a whole lot of extra equipment is to simply bounce the light off the ceiling.
Lenses for Newborn Photography.
The ideal lenses for general newborn photography are fast lenses, f1.8 or f2.8 at worst. If you don’t have them and aren’t ready to invest in them hire them for a day, this is an inexpensive way to get great photos of your new addition.
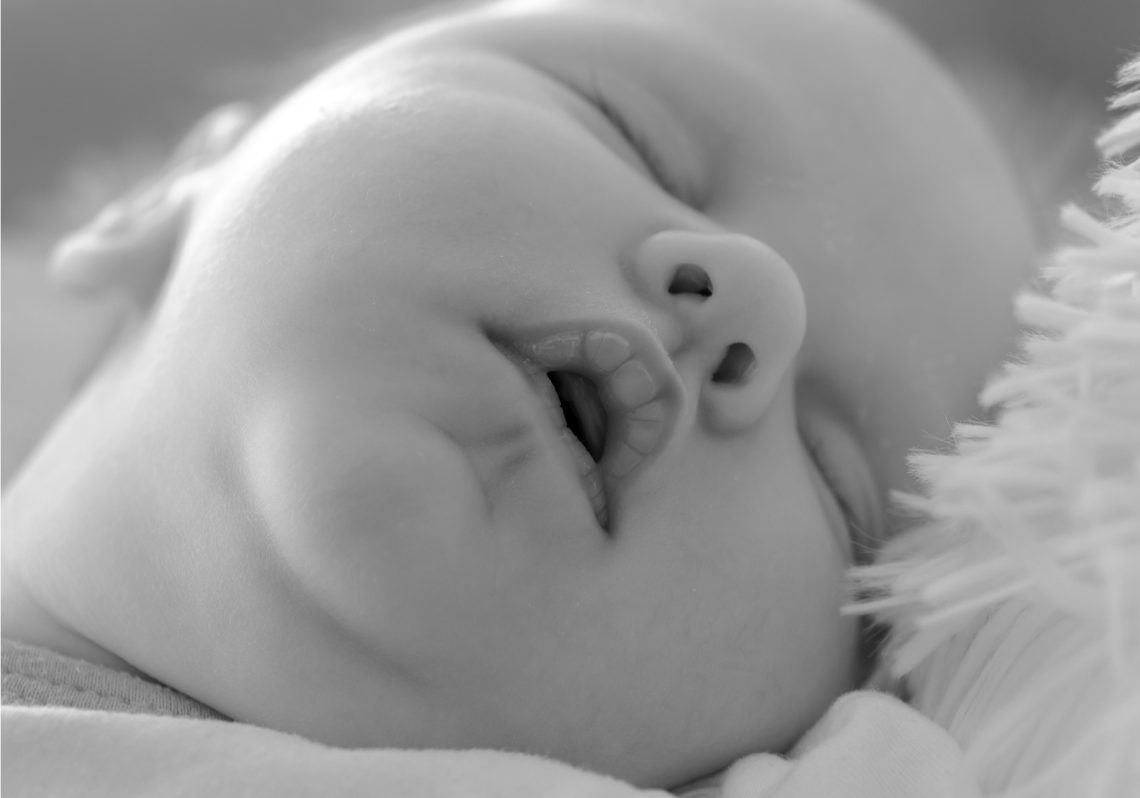
For the close up shots a macro lens is ideal. Close up shots are the ones of their little eyes, cute nose, little feet and hands etc.
Best options:
General use. A lens that will do almost everything you need would be a 24-70mm f2.8. Professional photographers also use prime lenses such as 50mm or 85mm which go as low as f1.4 and have an even narrower depth of field. Again it is all about personal preference and working space. If you have practiced enough you will know which lens best suits your style and needs. The advantage of the 24-70mm is the versatility of the zoom. If you go this route be sure to get the f2.8.
Macro lens – The wide aperture on these lenses allow for a shallow depth of field and dreamy bokeh. Get either a 60mm, 90mm or a 105mm macro.
Select aperture priority for your newborn photo session. Keep the shutter speed up.
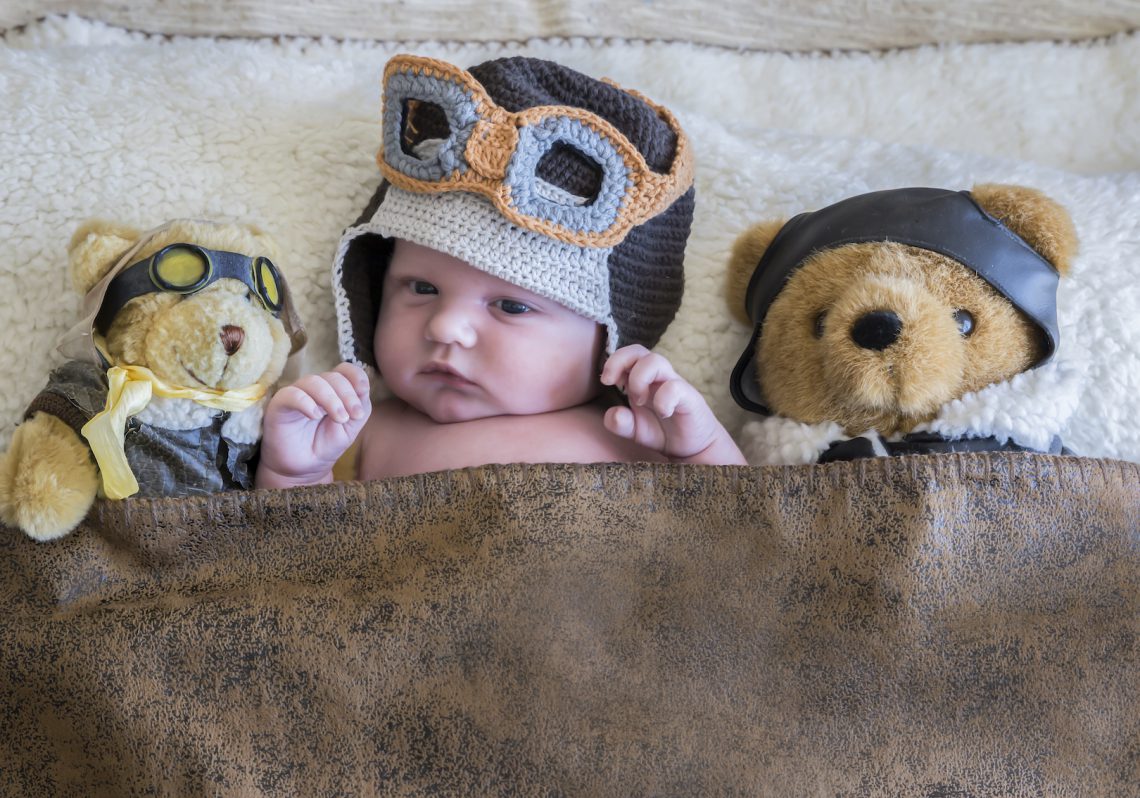
Use props to create fun images - who knows if he will become a pilot or a plumber?
To create soft lighting simply bounce your flash off the ceiling. Photo by Luciano Zanollo on Unsplash
Use a versatile zoom lens like the 24-70mm f2.8 to control the depth of field and obtain maximum sharpness.
Close up of baby's details can be done with a macro lens.
A Final Word on Photographing Newborns
For the best results when photographing newborns you need to practice your wrapping and posing. Those two, together with soft-lighting, are the secrets to beautiful newborn photos.
Oh and patience and tolerance for baby’s needs … they’re only little and need to pee, poop and feed.
Once their needs are taken care of they are the best models you will ever have as they sleep and allow you to manipulate them as you wish.
After this stage they are forever exploring their surrounds with continual movement and photographing them becomes a totally different challenge.
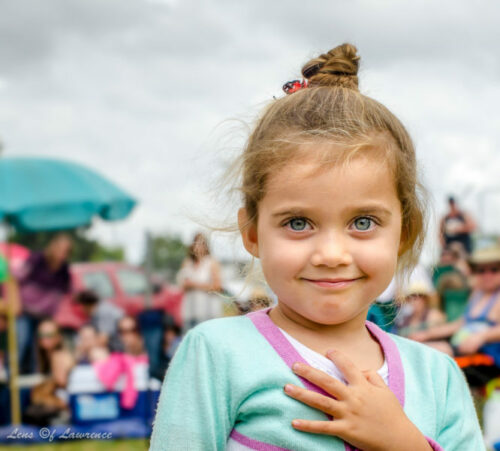
Tips for Photographing Infants and Toddlers
As the newborn transitions from newborn to toddler they pass through the infant stage This is a stage where they become more alert, the muscles and body movement develop and the whole business of co-ordination and exploring starts.
It can be a period of quiet reflection, intense movement and some serious attempts at conversation – especially if they are unhappy or hungry.
All in all a delightful phase that you will want to capture and record so let’s get to it.
The "Studio" Sessions
Once again preparation is essential.
Get your props ready and your lighting set-up exactly as you want it.
Plan ahead with your assistant (who will have a bigger and busier role to play this time round) so that you know exactly what poses and props you intend using and in what order.
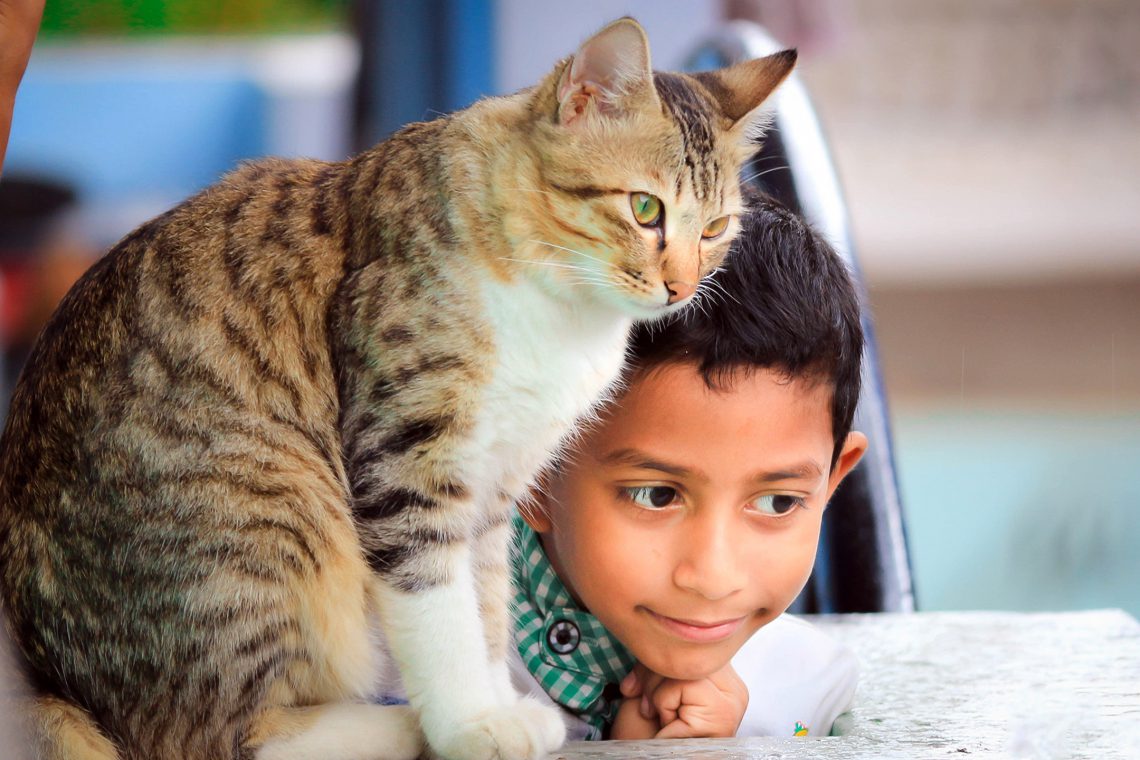
Consider including the family pets as props.
It never goes exactly according to plan but having one helps with switching to Plan B in the event baby doesn’t play along.
Have your backdrops set up if you are using them. If not, remove unwanted clutter from behind baby. This saves a lot of work and frustration in post processing.
These sessions are all about catching facial expressions and getting the little one to smile. Interesting sounds and shiny things (off camera) will pique their interest and get them looking in the direction you want.
Use several outfit changes, and maybe even some cute nude ones (for example in a tub).
Get down to the child’s level – photographing from above is seldom as interesting as photos taken at the child’s eye level, or lower. When you get down to their level they are more comfortable and will respond better to your actions and sounds.
I would suggest using “manual” mode with auto ISO. Set your aperture to at least f8 for greater depth of field to minimise the risk of an out of focus photo, due to baby’s sudden movement.
Set your white balance to auto or better still a user-defined setting – see your camera manual for details.
Practice safety at all times and ensure your assistant is close at hand at all times.
Remember that children have a small span of attention so keep them occupied and happy. Take breaks constantly, pick them up and love them often before commencing.
Above all have fun.
Little Princesses love to pose for the camera
Consider including the family pet in your children's portraits.
Capture those everyday moments with the available natural light
Live Action
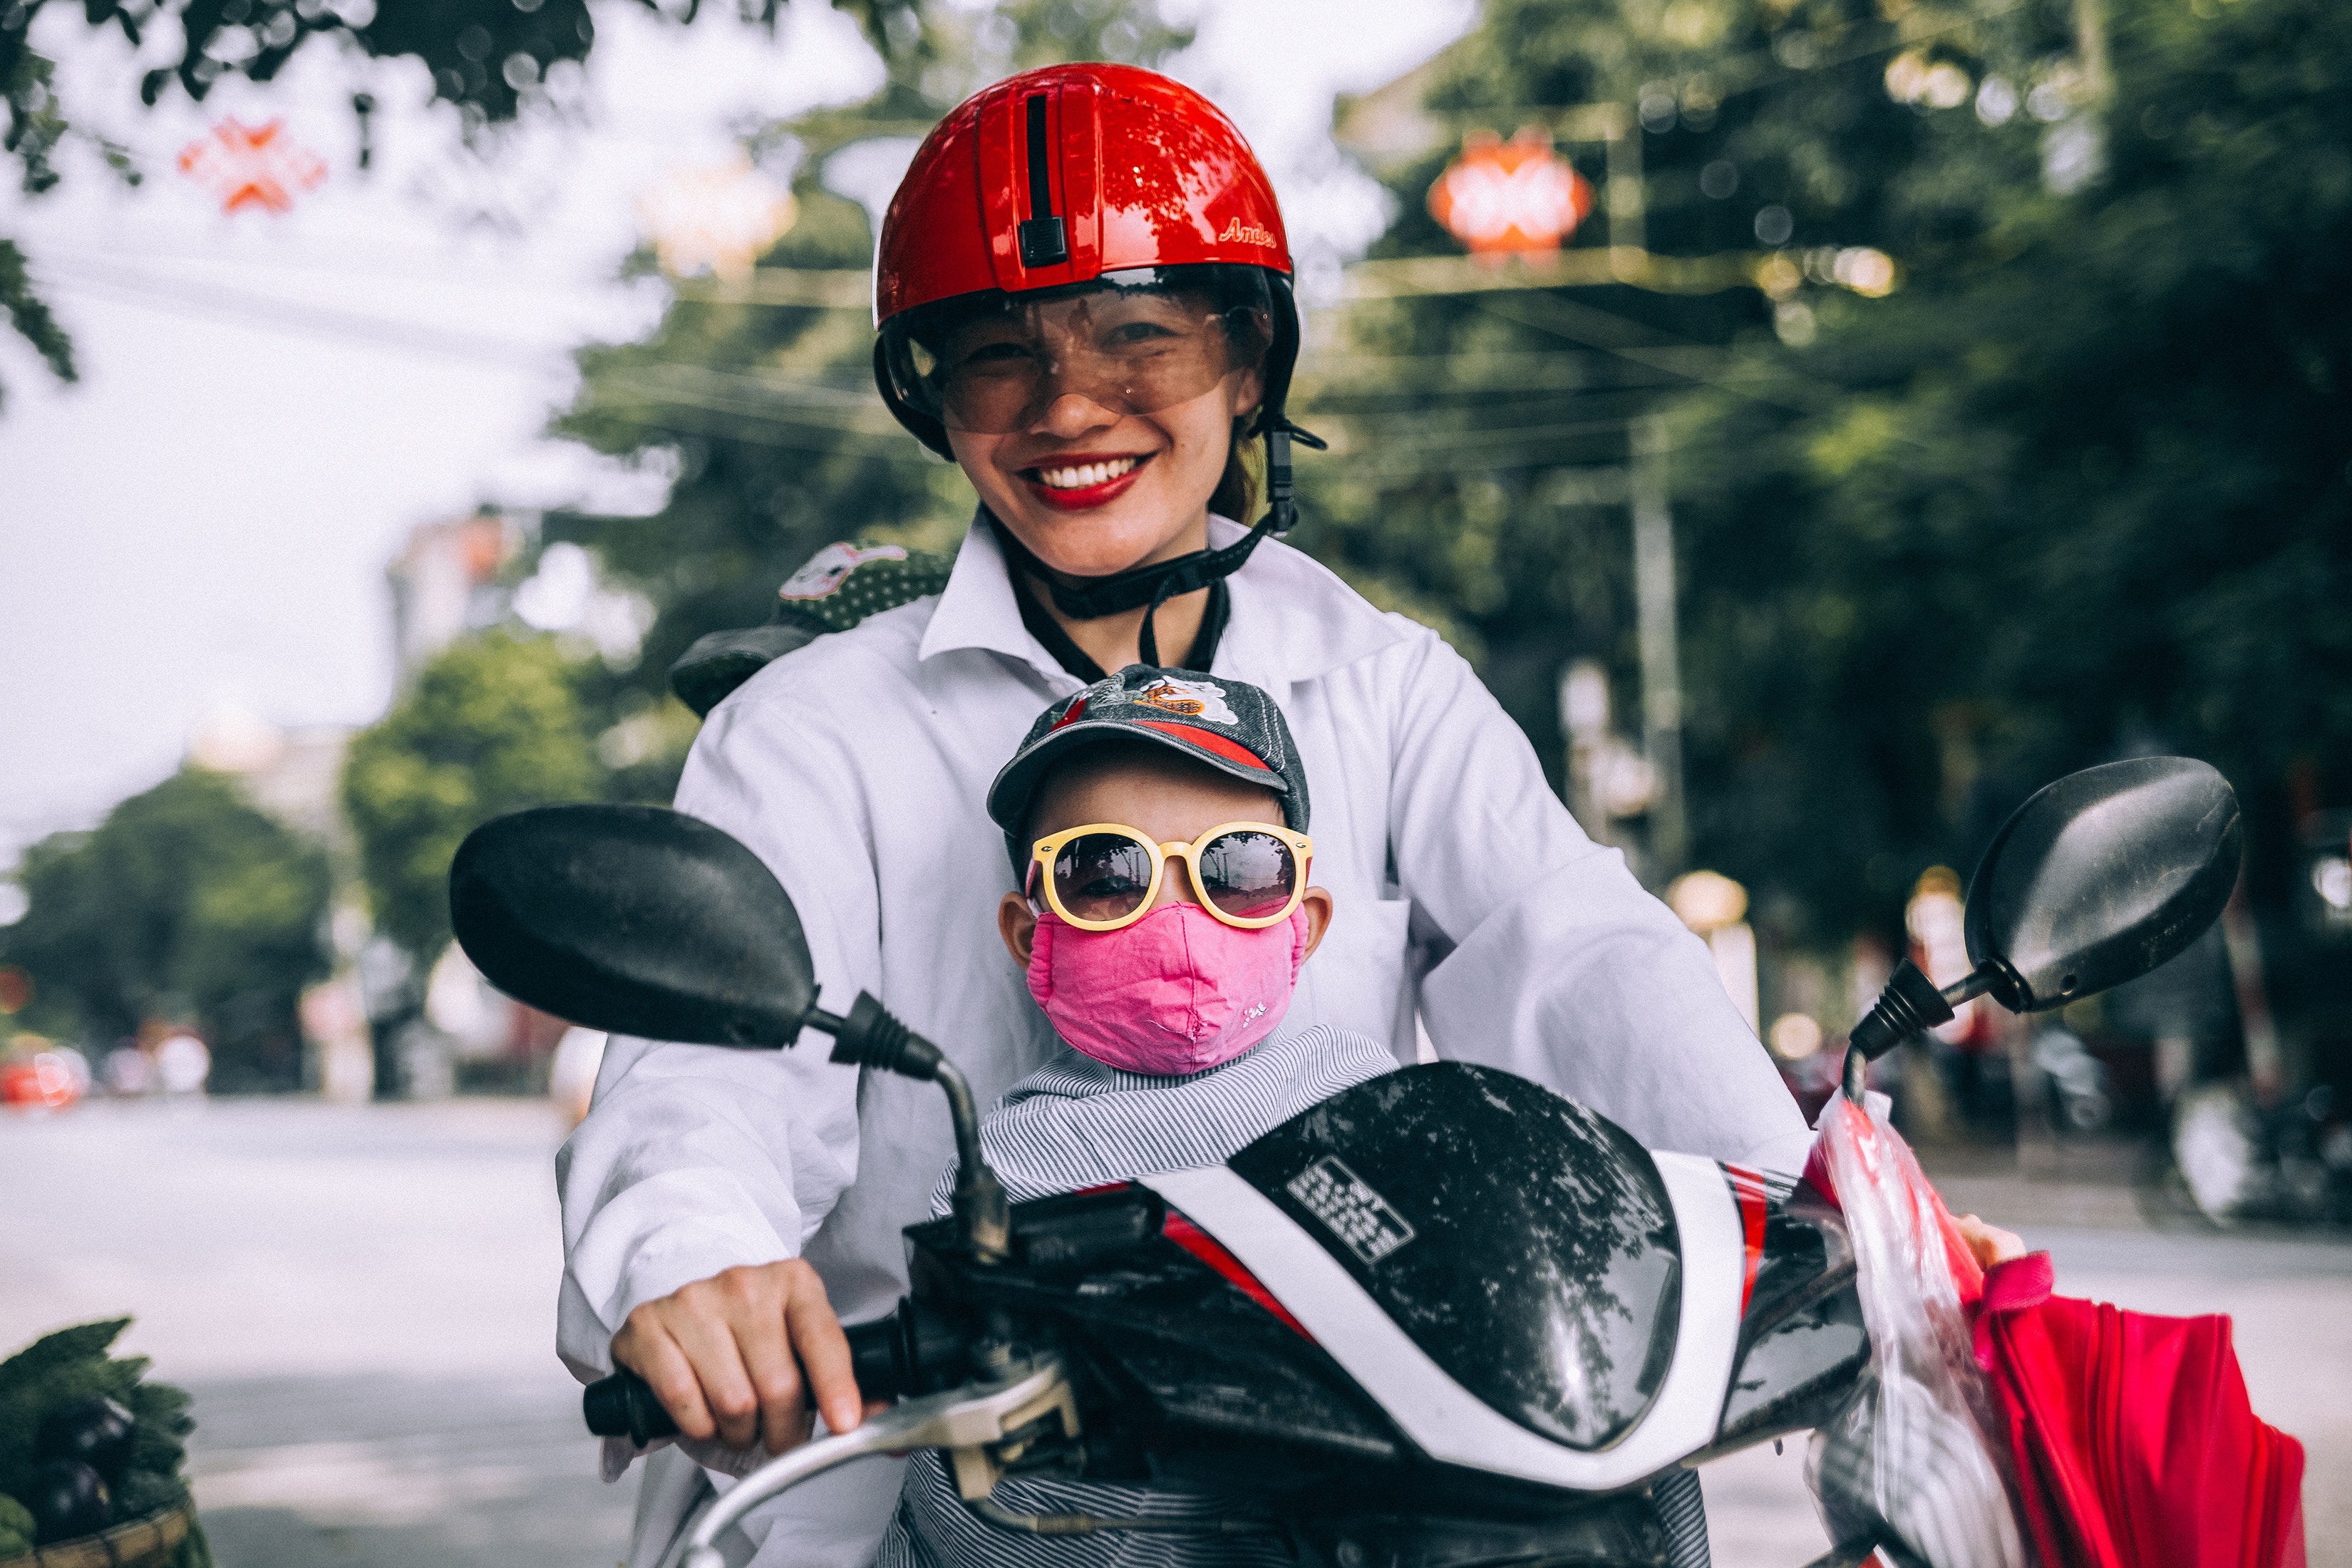
Everyday life and behaviour should be recorded too. These moments are just as memorable as beautifully posed photos.
Birthday parties, days at the zoo, lunch with the grandparents, first day at pre-school; these are all milestones in your family’s life. Record and keep them. They’re great to look back on and make for wonderful 21st speeches.
BIG TIP:
If at all possible avoid harsh shadows and high contrast lighting situations – choose overcast days with little or no (preferable) direct sun. This is not always possible but maybe you can convince the children to play in some dappled shade.
Don’t worry too much about background clutter but do get down to their level again, if you can.
Use “manual” mode and a small aperture (big f number) to get more in focus with ISO and White Balance on Auto.
Concentrate on capturing emotion, action and humour. Children give us all of that and so much more!
Look around and take photos of grandpa and grandma as they look on fondly.
Snap, snap, snap and … have fun.
Toddlers give us so much joy with the everyday business of growing up.
A dramatic portrait of a special moment.
Camera Settings and Lenses for Infant and Toddler Photography
For infants I recommend much the same settings as for newborns.
Toddlers are a bit different and I might alternate between aperture and manual mode as the situation calls for.
The toddler photos are not likely to be as close up and personal as the newborn ones and you will probably want more depth of field (more of the photo in focus). I recommend starting with f8 or f9.0.
Keep the shutter speed up as before – at least 1/125th sec.
Set ISO to auto.
White Balance to Auto – the last thing you want to worry about is the light changing continuously.
To Flash or Not to Flash?
Avoid bright shiny days if possible but if not then …
Yes! Use your on board flash as a fill-in light to expose darker areas and to eliminate harsh shadows. To do this correctly expose for the ambient light but turn on the flash. Practice this on a friend until you have it perfected.
If it is an overcast or cloudy (but not bright) day don’t use flash unless it happens to be very dark.
Lenses for Infant and Toddler Photography.
Your 24-70mm f2.8 is going to be your “go-to” lens and will cater for most of your needs.
If anything you may want something with a little more reach – consider a 70-200mm f2.8. They aren’t cheap but they are worth every cent and hold their value extremely well.
A Final Word on Photographing Infants and Toddlers
There is one huge advantage that I haven’t mentioned yet about taking photos of children – and this is especially true for toddlers aged up to 7 years and even beyond.
Print the photos you take of them and display them prominently around the house.
It has been proved that seeing their photos hanging in the home gives children a feeling of being loved andbelonging.
They realise they are an important and integral part of the family.
They grow up to be more loving, more confident, sociable and caring human beings.
It is the phase in life where humans are extremely inquisitive and open to almost anything – a time of experimenting and growing. They will love their photos being taken.
Enjoy the experience of having children!
Share this post and site on social media
4 thoughts on “Children Portrait Photography Tips and Techniques”
Wow , the info here was great! And I did work as a children’s photographer in K-Mart in 1978.
One problem I had was the lighting when shooting children of color. I was on assignment in Brownsville in Brooklyn NY. When all the pics came back my supervisor would not allow me to sell them or even show them to the parents, lol.
All the kids were purpleish instead of black???
It was never explained fully to me but I had to reshoot all of them with a different angle on the lights and a different f stop. Can you explain that?
Hey Dennis – thanks for your comments and your story/problem, its an interesting one.
I’d be keen to know it the adjustments you made were successful and assume they were although I have no idea why the angle of the lights and the f-stop would make a difference other than a bright reflection off the skin. This could be the case with very dark skin tones but I wouldn’t think it would apply to all dark skin tones.
It was back in 1978 so i am presuming film days.
The first thing I would think is bad/old chemical used in the processing and printing, then the next thing I would consider as a more likely option is the white balance setting – certainly that would be my very first consideration in the digital age.
What was the reaction of the parents when you had to call them all back? I’ll bet you told them a good story.
Hi Lawrence,
yes that was film era lo showin my age eh?
Well the official story was it was a lab screw up and maybe it was with what you are saying. They did not let me reshoot it they sent a guy of color that they said knew the light lol
I have always shot a lot of pictures and now with digital it is easy to build up giant libraries of your own.


Wow , the info here was great! And I did work as a children’s photographer in K-Mart in 1978.
One problem I had was the lighting when shooting children of color. I was on assignment in Brownsville in Brooklyn NY. When all the pics came back my supervisor would not allow me to sell them or even show them to the parents, lol.
All the kids were purpleish instead of black???
It was never explained fully to me but I had to reshoot all of them with a different angle on the lights and a different f stop. Can you explain that?
Hey Dennis – thanks for your comments and your story/problem, its an interesting one.
I’d be keen to know it the adjustments you made were successful and assume they were although I have no idea why the angle of the lights and the f-stop would make a difference other than a bright reflection off the skin. This could be the case with very dark skin tones but I wouldn’t think it would apply to all dark skin tones.
It was back in 1978 so i am presuming film days.
The first thing I would think is bad/old chemical used in the processing and printing, then the next thing I would consider as a more likely option is the white balance setting – certainly that would be my very first consideration in the digital age.
What was the reaction of the parents when you had to call them all back? I’ll bet you told them a good story.
Lawrence
Hi Lawrence,
yes that was film era lo showin my age eh?
Well the official story was it was a lab screw up and maybe it was with what you are saying. They did not let me reshoot it they sent a guy of color that they said knew the light lol
I have always shot a lot of pictures and now with digital it is easy to build up giant libraries of your own.
I am doing video now too and am expanding my youtube presence.
https://youtube.com/captdennismd
Check it out and maybe we can talk sometime bout style and stuff
onward n upward
captdennis
That makes sense to send a guy from the lab but in those days if it was their fault they may have covered it up with technical speak!
Love the video portfolio. I need to start doing that.