One of the questions I am often asked is how to photograph flying birds. It seems everyone wants to try it but few know where to start. Photographing birds in flight is fun!
Birds in flight move at high speeds and invariably you will be photographing a back-lit subject.
These two elements make for a tricky situation as far as exposure is concerned and also as far as producing a tack sharp image.
My intention here is to get you started with the correct settings and explain the reasons for each. I suggest you try them and adjust to your own ability and the gear you use.
Before we get started I encourage you to consider photographing flying birds as a fun challenge and not to get frustrated with your initial failures, of which I am sure there will be a few.
There’s a lot to cover so let’s get straight into it.
Contents
What Equipment Will You Need?
For birds in flight (BIF), I cannot imagine any situation that will not require a long lens, use the longest lens you have.
Invariably you will feel that you need a longer lens to get closer but in truth a lot can be achieved with something as short as a 200mm.
I use my 80-200 f2.8 and it is more than adequate for the majority of my BIF photography. Sometimes I will throw on my 1.4X tele-convertor but not often as it does impede on the sharpness.
Your camera – whatever it is.
The higher the specs on the camera the more successful you will probably be but you do not have to have the best of the best.
Your current camera is probably fine and learning to get the best out of it will be a lot of fun.
Study Your Subjects
Knowing a bit more about your subjects will greatly improve your chances of getting a great shot.
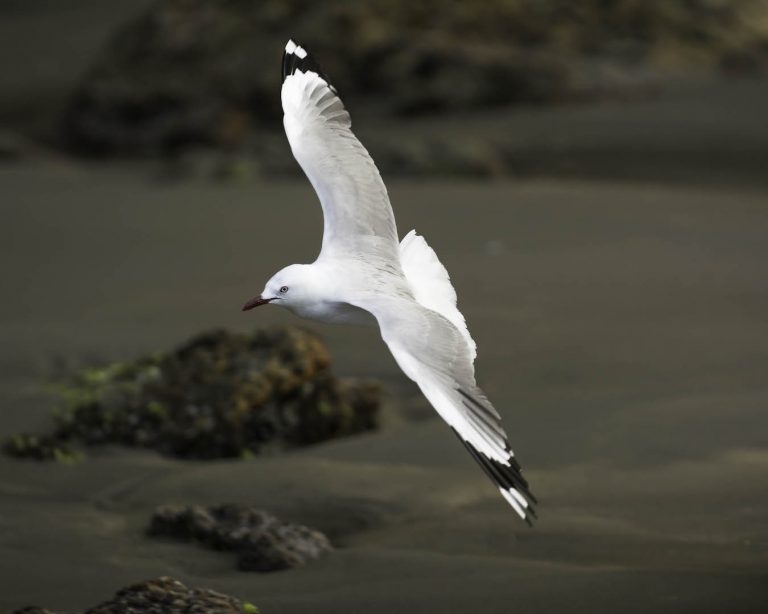
Study how they behave and watch for little signs that indicate that they are about to do something particular – like take off or turn.
All animals have a small trigger movement prior to any action. Humans are the same.
Try to get out of your chair naturally without moving your bum back in your seat first.
I bet you tried that! 🙂
Watch for this trigger movement and as soon as it occurs you should be ready to take the shot of the impending action.
Different types of birds have different patterns so learn their ways for greater success.
Generally speaking birds take off into the wind – I’m not an aviator but I would guess that this helps with their uplift.
Knowing this means you can get into a position to take advantage of it. Take-off is usually preceded by a slight downward bob of the body as the bird prepares to launch.
Be aware of the direction of your light source (aka the sun) and position yourself so that you get the best exposure on the birds body.
If the sun and the bird are directly overhead you will need to over expose to get the bird’s details at the expense of the sky detail which will be burnt out. That’s OK.
What Camera Settings to Use
This is the big question everyone asks and the answer is dependent on a few things.
The higher end cameras that are designed specifically, such as the Nikon D500, for sports photography will always outdo others when it comes to photographing birds in flight.
There’s really no point in worrying about it though as you have what you have and, until you decide that all you ever want to do is take photos of flying birds, it will probably be more than adequate.
The following steps will be fine for virtually any modern DSLR or mirrorless camera sold these days.
Set the shooting mode of your camera to Shutter Priority.
Birds move – fast!
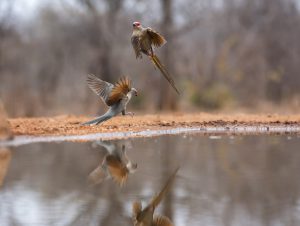 You want your shutter speed to be at least 1/500th second but I would suggest starting at 1/1000 of a second.
Once set it will stay there so the most important part is taken care of.
If your first couple of photos aren’t coming out tack sharp or at least in focus try a faster shutter speed and work up until you are completely satisfied.
Set your ISO to Auto.
Some will argue this point and that is fine and dandy but when you are trying to learn how to photograph flying birds the less you have to think about the better so let the camera handle this.
Adjust your aperture for correct exposure.
With your shutter speed set and your ISO on auto you only have to concern your self with the aperture.
Play around with it to get the best combination of aperture/ISO (which will adjust accordingly) for the exposure you want.
As a guideline I start off at f9.0 which gives quite a big depth of field and then adjust down to f5.6 if I can do so without having the ISO go too high (producing a noisy image).
Take a few trial shots and make notes.
Use the maximum number of Focus Points.
This is where the specs of your camera come into play.
Some sensors are exceptionally sophisticated with a great number of focus points – others not so much.
The more focus points you use the less your camera has to search when focusing and the more likely you are to produce a nice sharp image.
Start with the maximum your camera has and gradually move to less as you improve.
Use Single Spot Metering.
With the contrast between the bird and the sky the camera will struggle to come up with the correct exposure on the bird. Single spot metering on the bird will give the best result even if the sky is burnt out.
Use continuous shooting or burst mode.
This is another camera body feature that varies greatly from camera to camera. some cameras take 3 shots a second while others take up to 8 or 9 and even 10.
Coupled to that is the need for a high speed memory card and the speed of the sensor to card transfer referred to as the buffer rate.
All technical stuff which is interesting but not for this article.
Whether your camera takes 3 or 10 frames a second use it as you are more likely to get a sharp image of your flying bird if you shoot more of it.
Make sense?
Use Back Button Focusing.
On some cameras you can allocate the back button (AE-L/AF-L on Nikon) to be your shutter release button.
It’s not for everyone but I find it incredibly useful for fast moving subjects.
For me the biggest advantage is being able to hold it down while you track your subject, the camera focus remains locked in whilst it is depressed.
Your job is simplified by just having to track focal point of the subject in the viewfinder.
As I said it is not for everyone and many argue against it.
I suggest you try it for yourself and see if it suits you. Be aware that it will seem strange at first but stick with it for at least a week before you decide to chuck it in.
I don’t think I will ever go back to the front button after switching – you may find the same.
Save your settings.
Once you have found settings that work for you either save them in camera under the “User settings options” if your camera has them or write them down for future reference.
The next time you plan on doing birds in flight switch to the preset user setting or load the settings before you leave home and you’re good to go.
And finally … Practice
You’ve got the gear, you’ve got the settings and you’ve got the subjects so get out there and practice.
But start with anything but flying birds – they’re real fast and can be disheartening!
I suggest photographing traffic; moving cars, bicycles, pedestrians and motorbikes.
Then go on to do some sporting events where subjects are continually on the move
The technique you will need to master is panning; whereby you lock on to the subject and follow it in the viewfinder moving the camera as you go from one side to the other.
The idea being to have the subject (the moving car or bird in flight) in focus and not be concerned about the back ground.
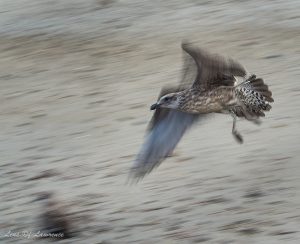
 One tip about panning: Keep the camera moving after you have taken the shot.
Think of a tennis player whose racket continues through the shot long after the ball is gone and do the same with your camera.
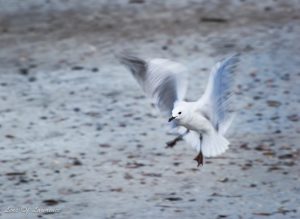
For the last 2 photos (right and above) my intention was always to get action in the wings while having a sharply focused head.
While I didn’t totally succeed I am still happy with the result.
I’ll let you in on a little secret.
After watching the seagulls for a while I thought that my easiest shot would be as they landed; as is the case here – practice the easy shots before going for the tough ones.
Getting a really good photo of a bird in flight is very rewarding but the process of learning how to photograph flying birds is the real fun.
Get out there and have some fun.
Show me some of your images, share your findings and experiences by leaving me a message below.
I’d love to hear from you.
And don’t forget to give back-button focus a go.

Awesome article and amazing photography, thanks so much for sharing. I live on the West Coast of New Zealand and we have prolific birdlife down here, everything from Weka, Blue Penguins, Godwits, Banded dotterel, Blue Shag, Oyster Catcher and white faced herons to name a few species. With this much birdlife, it’s no wonder we have a growing migration of birdwatchers to the area each season. Best wishes, Karen
Hi Karen – now that i did not expect at all; that we both live in New Zealand.
Are you on the mainland or the north island?
Thanks for the compliment – I do like my photography and find it very stimulating and rewarding and of course NZ is such a lovely place to be for it.
Appreciate you stopping by.
Lawrence
Great advice! Going to put all of this into action when I go out next. I am going on a walk by a river later this week. There is a strong possibility of some great shots. Will give it a go!
Fabulous – let me know how it goes.
Thanks for sharing
Hi Lawrence, I found this post very interesting as I have always wanted to get a decent picture of my dog but the little scamp never stops moving for a second, and so they are always blurred. I am no photographer, in fact my pics are so bad that people laugh at them, but I did take something great way from this post that I’m hoping will apply to any moving animal or object. That is to keep the camera moving after you’ve taken the shot, so I will test this for myself later.
Do you have any other tips for photographing animals like dogs? I would be very interested to know. Thanks.
Hi Stefanie. Wonderful that you have a “scamp” 🙂 to practice on. Pets make awesome subjects and there are professionals that make an excellent living out of just photographing pets.
If you’re struggling to get them in focus I suggest shooting in Manual mode and upping your shutter speed to at least 1/1000 of a second and setting your aperture to about f4.5 – f9.0 leaving ISO on Auto.
Try that and adjust shutter or aperture accordingly.
Hope that helps,
Lawrence